Reinstalling windows is a quite a complex task for some, so this a dummies guide to reinstalling windows.
Note : This assumes that you have a previous XP installation
Reinstalling windows can be separated into three parts
1. Backup your important documents
2. Reformatting the hard drive
3. Installing windows
4. Post installation tweaks/Restore Backup
This guide only covers 2 and 3.
What you need:
Windows Installation CD
Refromating the hard drive
1. To start your computer from the Windows XP CD-ROM (or from the startup disk), your computer must be configured to start from the CD-ROM drive, the DVD-ROM drive, or the floppy disk drive. In some cases, you may have to modify your computer's BIOS settings to set this configuration. For information about how to configure your computer to start from the CD-ROM drive, the DVD-ROM drive, or the floppy disk drive, see the documentation that is included with your computer, or contact the computer manufacturer. After that you should see this. 
Optional - Install RAID / SCSI driver
2. Wait for a few minutes 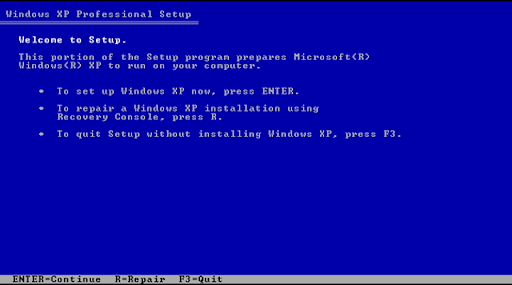
3. Press "Enter" 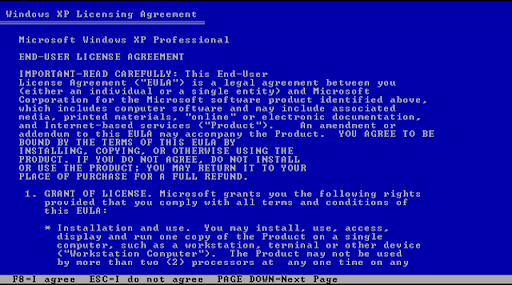
4. Press "F8" to continue 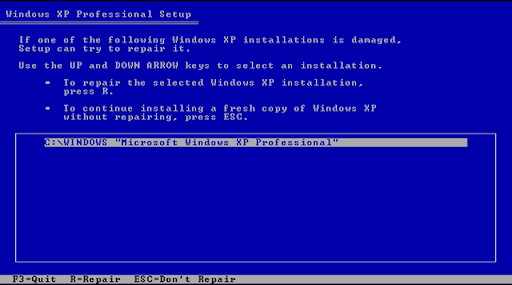
5. Press "Esc"

6. Highlight the drive you want to install XP (should be C:)
7. Press "D" 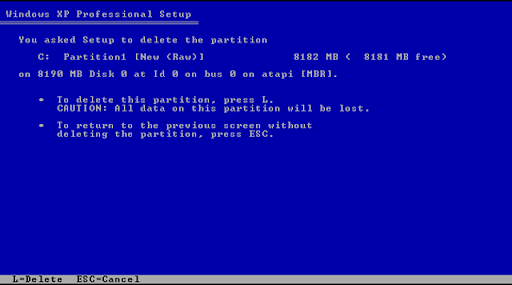
8. If you are sure that you have no vital information on your hard drive,Press "L" to confirm. 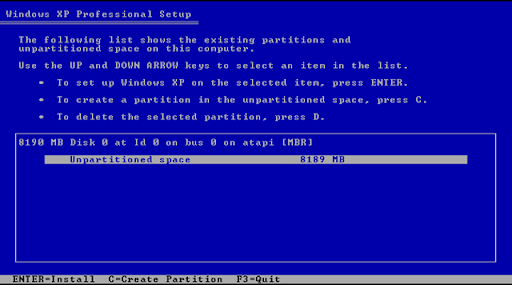
Optional - Partition your Drive(not recommended)
Why do you need to partition? Click here
Partitioning DOES NOT save you from HDD failure
Short Guide to partitioning
a) Press C 
b) Type in the size you want the partition to be
c) Press "Enter"
9. If you don't want to partition the drive, highlight the "Unpartitioned space and press "Enter". It will automatically make a partition with the maximum possible size.
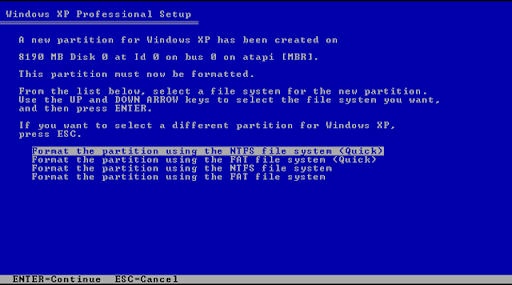
10. Highlight " Format the partition using NTFS file system <quick>" and press "Enter
For more information regarding "formatting with non quick, NTFS and FAT file system" click here and here /
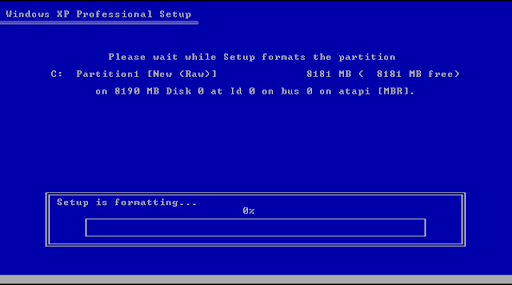
11. You have just finish formatting, from here on, don't touch anything. If you are going to continue to the next part, grab something to eat or something, it takes quite a while.
Installing Windows
If you are continuing from the last part, you should see this

1. Wait until it reaches this screen 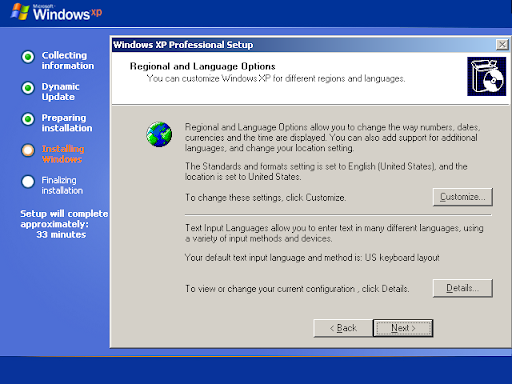
Optional - Setup and install encodings/fonts/text inputs. This step is not necessary but strongly recommended. It installs the various encodings that the web or documents uses. If you do not do the following step, some documents and web pages will not display correctly, you may do this after installing XP though.
a) Click "Customize", click the "Languages" tab and tick both checkboxes as shown in the screenshot below 
b) Click the "Advanced" tab and tick all the checkboxes as shown in the screenshot below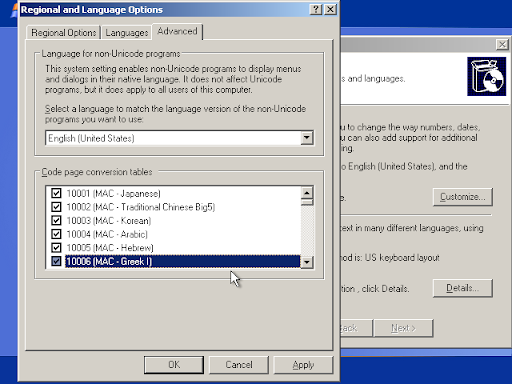
c) Press "Ok"
d) Press "Details..." and then Press "Add..." 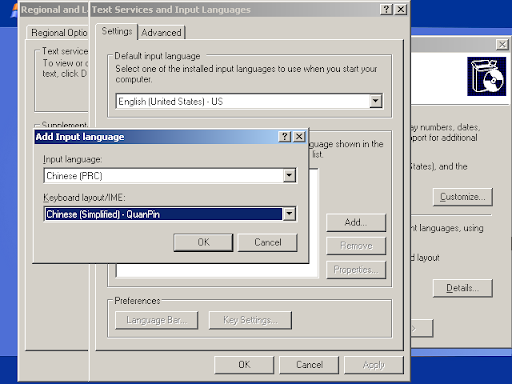
e) Select the "Input language" and "Keyboard Layout" Further Information, please click here
f ) Press "Ok" to return to the parent window 
2. Click "Next" 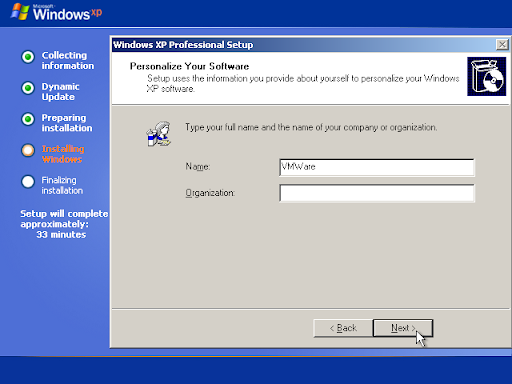
3. Key in your computer name and click "Next" 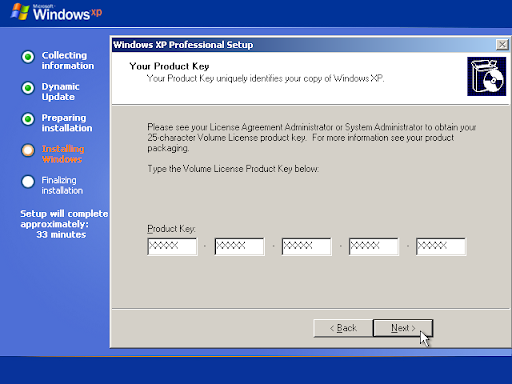
4. Key in your product code, For OEM machines, there should be a sticker on your machine with your product code on it. Click "Next" to continue. 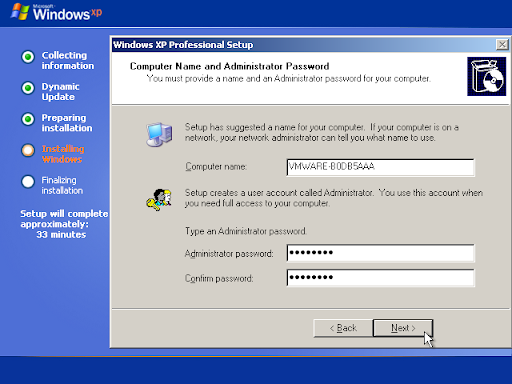
Optional - Key a Administrator Password, This is Strongly recommended, if not, this happens.
5. Click "Next" to Continue 
6. Setup your date and time, a sample is shown in the screenshot above. Click "Next" to continue 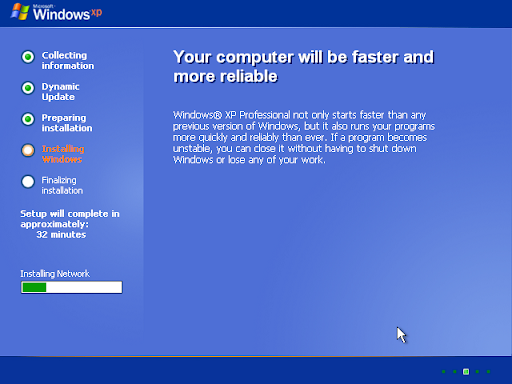
7. Wait for windows to install some stuff, takes a while. When it is done, it should look like this. 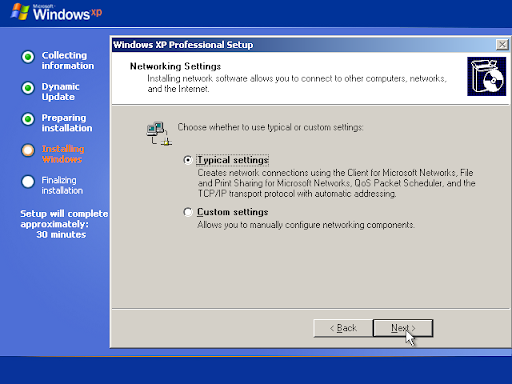
8. Unless you are in a special network, press "Next" to continue. If not, you may need to install some stuff, contact your network administrator for this.
If you don't know what it is, just press "next" will do. 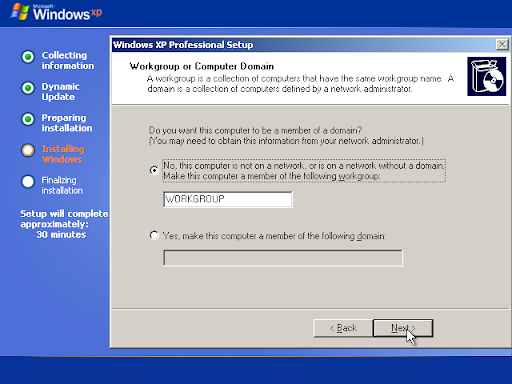
9. Again, If you don't know what it is, just press "next" will do. 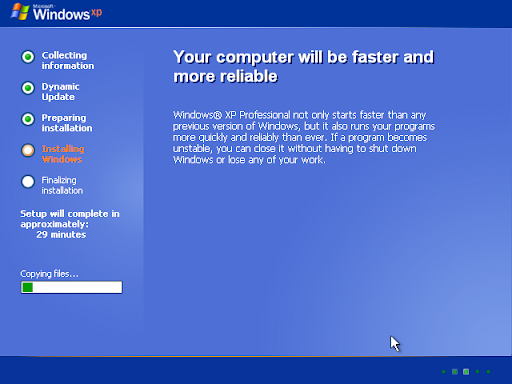
10. Wait for windows to install some stuff, takes a while. When it is done, it should reboot and will look like this. 
11. Press "Next" to continue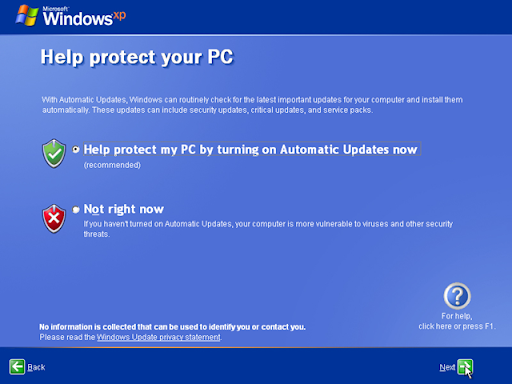
12. If you are using an original license select "Help protect my PC by turning on Automatic Updates now" else select the other one.
13. Press "Next" to continue 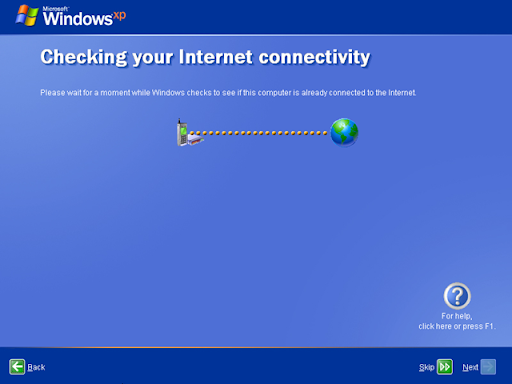
14. If you see the above page, it is most likely you are not connected to the Internet, Press "Skip" to continue.
If you have and Internet connection you should see the screenshot below instead of the above. 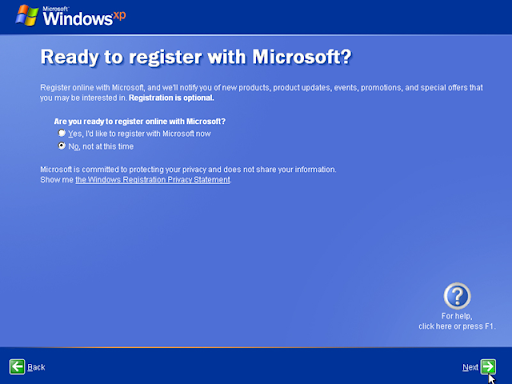
15. Select "No, not at this time" and press "Next" to continue. 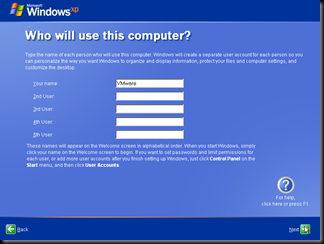
16. Fill in the names of the user of the computer and press "Next" to continue. 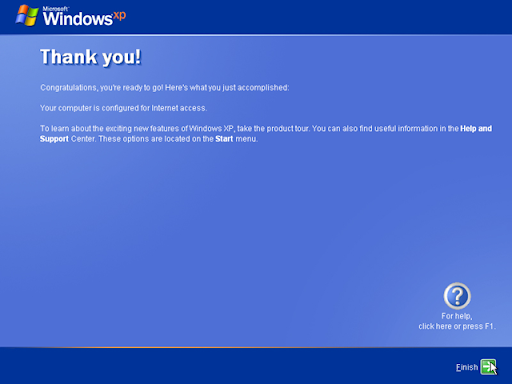
17. Press "Finish" to continue.
Congratulations, you have just finished installing a fresh copy of Windows XP.
No comments:
Post a Comment